
Welcome to our comprehensive guide on how to use the Inion FreedomPin™ Kit. Below, you’ll find step-by-step instructions to ensure safe and accurate use.
Inion FreedomPin™ Kit is a single-use kit with sterile and easy to use disposable insertion instrumentation. The Kits include two or three Inion FreedomPins™, two K-wires, one cannula, one introducer and one depth gauge.

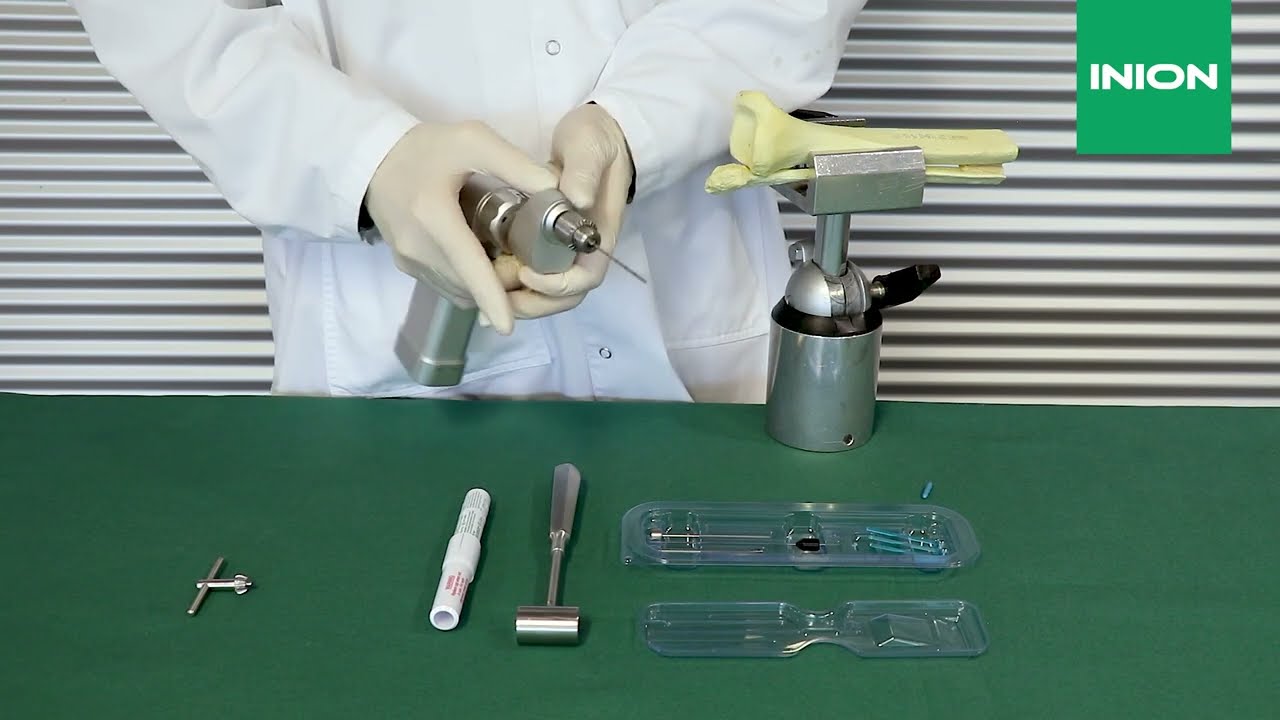
Step-by-step instructions for using the Inion FreedomPin™ Kit
- Remove the pin kit cover and take the K-wire from the sterile Inion FreedomPin™ Kit.
- Drill the K-wire through the bone to secure the fragment or osteotomy.
- Insert the pin into the cannula. The pin should be inserted into the cannula from the curved side, which is marked with an arrow symbol (↔).
- Take the introducer and insert it into the cannula from the straight end (no arrow symbol).
- Tap the Inion FreedomPin™ into the drill hole in the bone by tapping the inserter with a small hammer.
- Cut the pin at the bone surface with a hot loop or cutting pliers.
Watch the video tutorial

Inion FreedomPin™ Bioabsorbable Pin
Inion FreedomPin™ is a strong and versatile bioabsorbable pin for orthopaedic fixations. The Inion FreedomPin™ is available in four different diameters (1.5 mm, 2.0 mm, 2.7 mm and 3.2 mm), which allows a wider range of applications.
Inion FreedomPin™ is a CE-marked medical device (Class III), manufactured by Inion Oy. The conformity assessment was conducted by BSI The Netherlands (CE 2797).